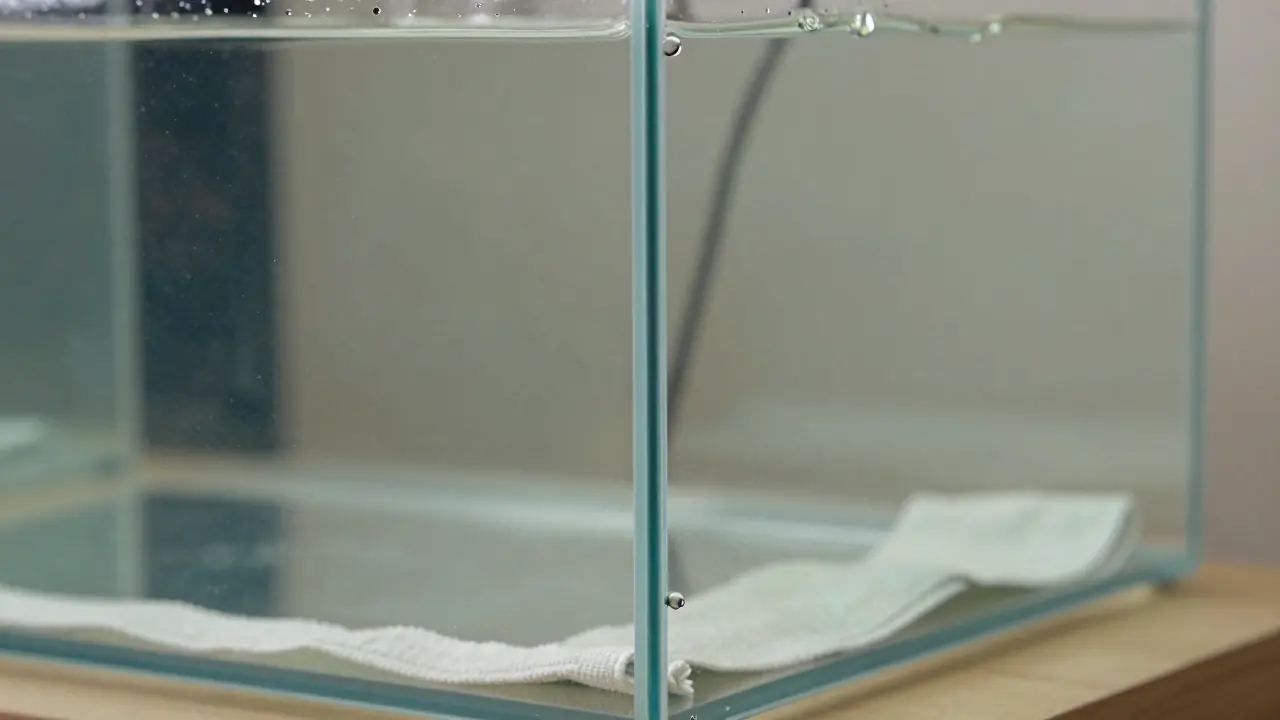
If your fish tank is leaking, unplug everything, move the fish to a bucket of their own tank water, and lower the water below the leak. Then find the exact spot. A small seam leak can be fixed from the inside with 100% aquarium-safe silicone, but a cracked pane, a bowed panel or a failing old tank is usually cheaper to replace than repair.
Move calmly. A slow drip is an emergency for your floor, not for the fish, so a few careful minutes now prevent a flood later.
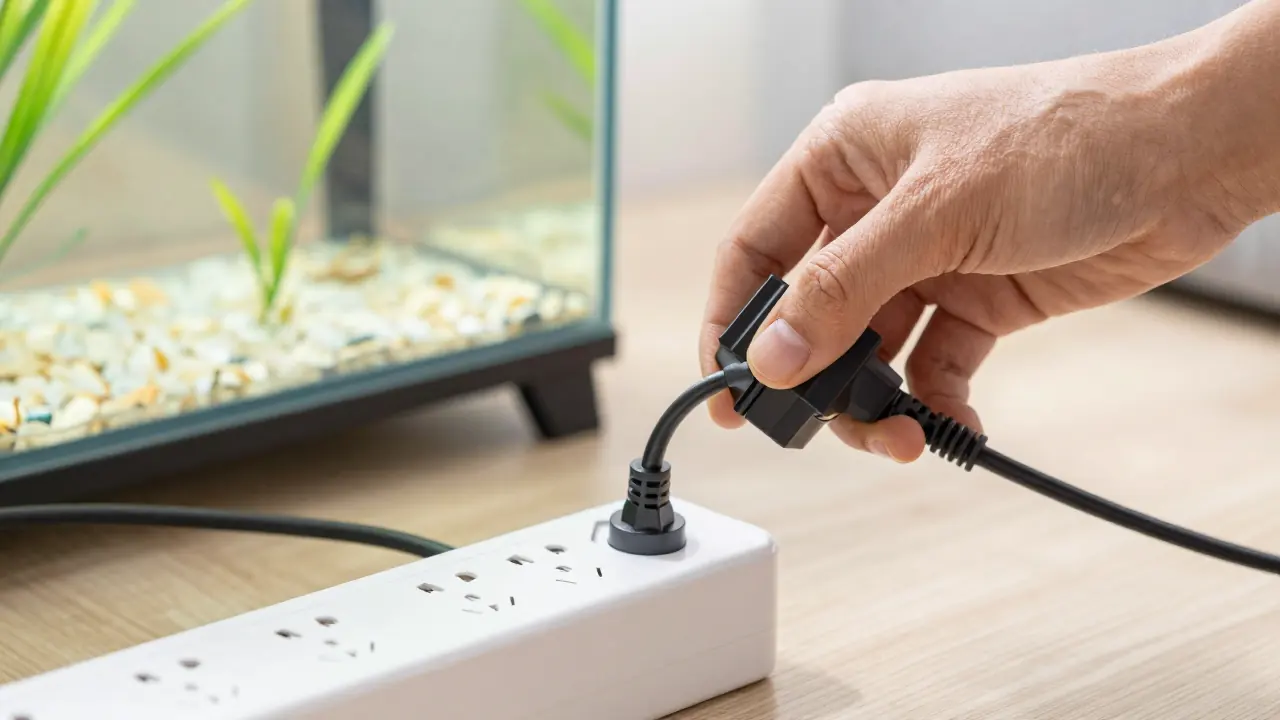
Water and electricity do not mix. Before you touch the tank or the floor around it, unplug the heater, filter, lights and any power strip that is wet or near the leak. If water has reached an outlet or power strip, shut off that circuit at the breaker before you step into it. Plug equipment back in only when everything is dry, with a drip loop in each cord.
What to do first: emergency steps
- Unplug the equipment. Pull the plugs from the wall, not the tank end, if cords are wet. Use a dry hand and stand on a dry surface.
- Protect the floor. Put towels around the base and a bucket under any drip. Move anything electrical off the floor.
- Move the fish. Scoop some tank water into clean buckets and move the fish and plants there with a net. Keep decor and filter media wet in a bucket of tank water too, since the bacteria on them matter later.
- Lower the water. Siphon water into buckets until the level drops below the leak. If the leak is at the bottom seam, drain the tank fully.
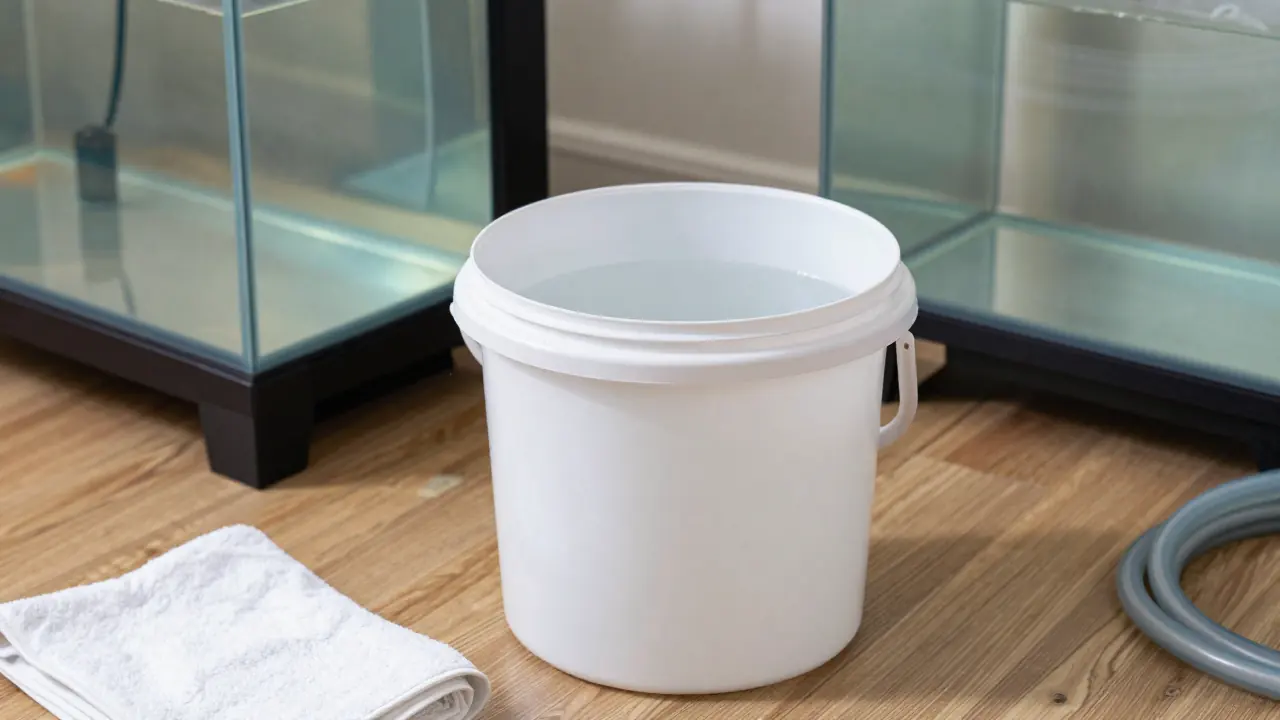
Keep the water you removed. It is the best water for the fish while you work, and for refilling later.
Is it a leak or just condensation?
Not every wet spot is a leak. Condensation forms on the outside of the glass when warm, humid air meets cool glass, and it can drip down to the stand. Splashes from a filter or from topping off also look like leaks. If the puddle shows up only after a water change, or only in humid weather, or the water level never drops, it is probably not a leak.
A true leak keeps going. The water level slowly drops and the wet area returns after you dry it.
How to find the leak
Finding the source is often the hardest part. Work from the outside in.
- Dry everything. Wipe the outside of the tank, the stand and the floor completely.
- Run a paper towel along every seam. Run dry paper towels along the seams. If moisture transfers to the towel, that seam needs repair. Check the corners and the bottom edge with extra care.
- Wipe and watch. Wipe the outside of the tank and see where water reappears first.
- Use a drop of food coloring. Add a little near the suspected spot inside and watch where it seeps out.
- Rule out equipment. Check where filters, hoses or heaters attach. A hang-on filter that overflows, a hose clamp that has loosened, a heater suction cup pulled free or a bad fitting can drip onto the stand and look like a seam leak.
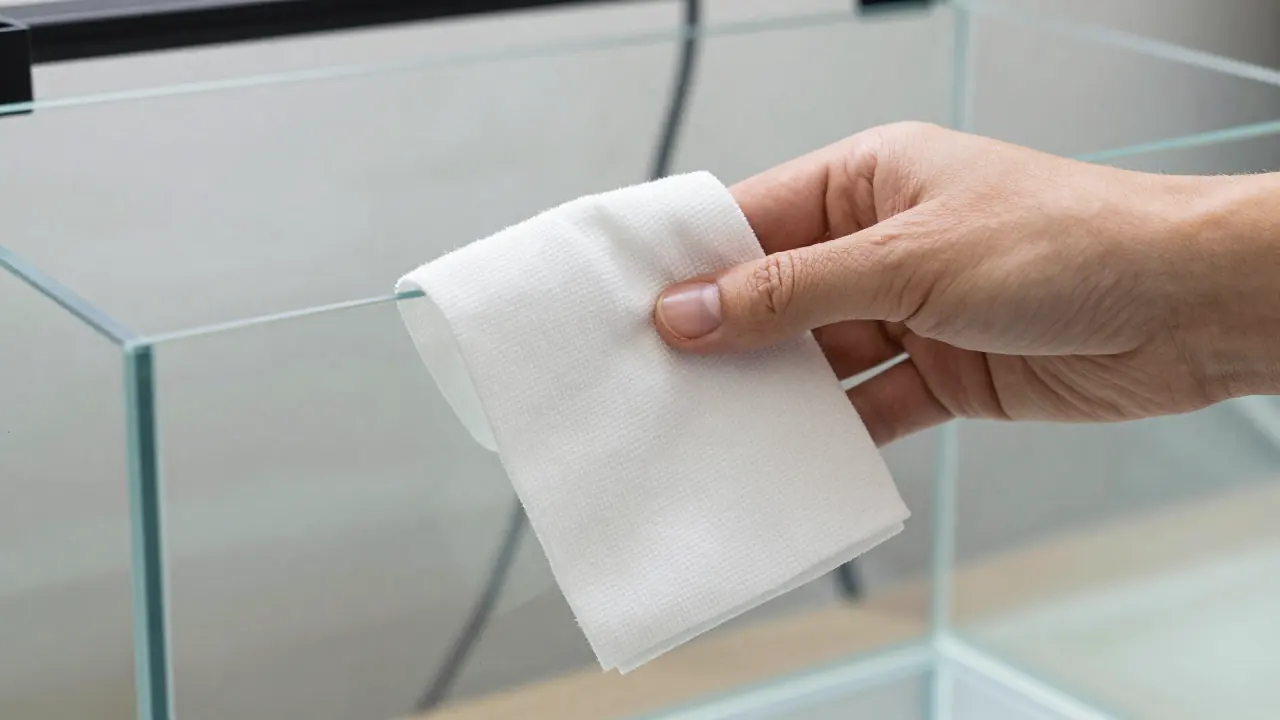
Water can run along the silicone and appear far from where it entered, so mark the lowest wet spot and look above and to the sides of it. The common leak areas are seams, glass cracks and equipment attachment points.
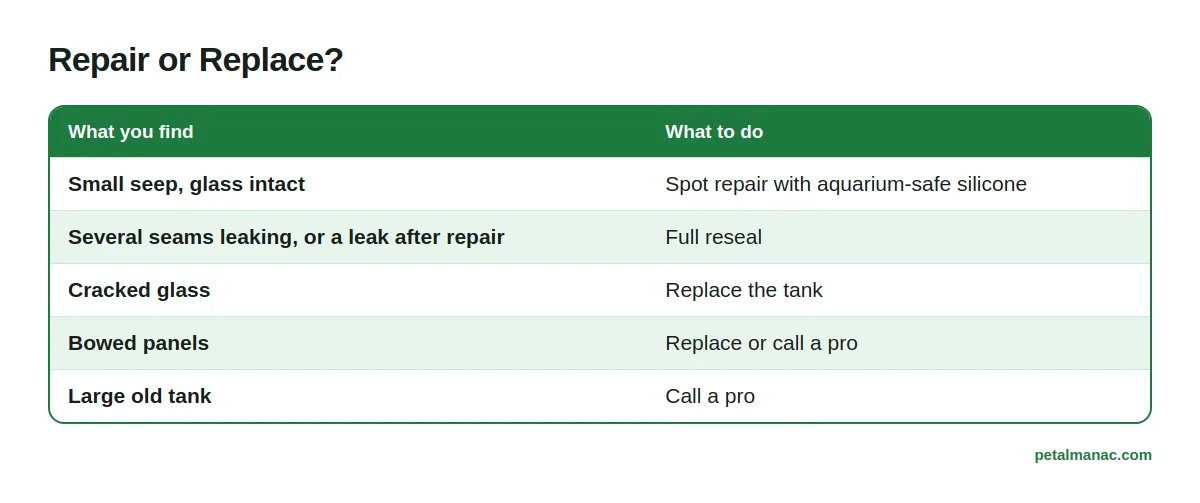
Repair or replace? A quick decision guide
| What you find | Best move |
|---|---|
| Small seep at one seam, glass intact | Spot repair from inside with aquarium-safe silicone |
| Seam leaks in several places, or a leak right after a repair | Full reseal of all seams |
| Cracked glass | Replace the tank. Sealant cannot hold broken glass under water pressure |
| Bowed panels or a seam peeling away from the glass | Replace the tank, or take it to an aquarium professional |
| Large, old tank that is hard to move | Call a pro. Over 50 gallons, bottom seams may need reinforcing |
Replacing a single broken pane often costs more than a new tank, especially for tanks under 40 gallons, because the glass has to be cut to exact size. Check your size options in the fish tank sizes chart when you shop.
Small seam leak: spot repair from the inside
This works for a small leak on a seam when the glass is sound. It is the faster route but less reliable than a full reseal. The tank must be drained well below the leak and the area completely dry.
- Dry the area around the leak and clean nearby glass. Isopropyl alcohol on a lint-free cloth removes oils.
- Find where water enters the silicone inside and where it exits outside.
- Spread a bead of 100% aquarium-safe silicone over the spot inside, anchored to the glass on either side of the old bead.
- Add a thin bead outside over the place where the water comes out.
- Let it cure for 24 to 48 hours, then refill slowly and recheck.
Use only silicone labeled as aquarium safe and 100% silicone. Standard household and bathroom silicone often contains additives that are toxic to fish. If the spot repair leaks again, move to the full reseal.
Full reseal: step by step
A reseal restores every seam. It takes patience, because the most common reason a repair fails is old silicone left on the glass. Silicone does not stick to cured silicone.
What you need
- Fresh 100% aquarium-safe silicone (hardware-store aquarium silicone is fine up to about 30 gallons; bigger tanks need a quality sealant made for the job)
- A caulking gun, single-edge razor blades, needle-nose pliers and acetone or isopropyl alcohol
- Masking or painter’s tape, lint-free cloths and a place with good ventilation
Steps
- Empty and dry the tank. Remove fish, water, substrate and decor. Dry it completely.
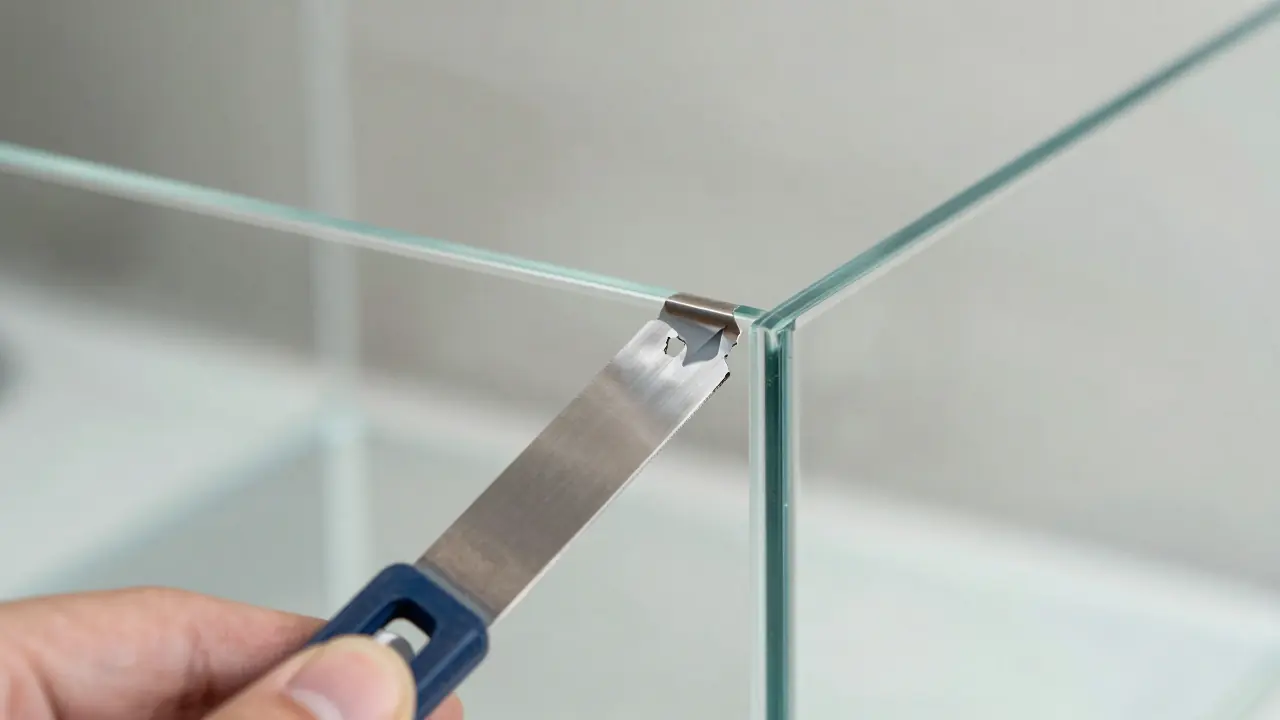
- Cut out the old silicone. Slide a razor blade along each seam, one at a time, and pull the old bead out in long strips. In corners, cut from several angles and pull the plug of sealant out with pliers. Keep the blade flat against the glass to avoid scratches, and wear gloves, because pane edges can be sharp.
- Clean the glass. Scrape off every trace. If the glass looks cloudy where silicone sat, a film is still there. Wipe with acetone, then dry.
- Support the panes. Once the seals are gone the panes can shift. On tanks without a frame, use tape around the outside corners, and keep the tank upright.
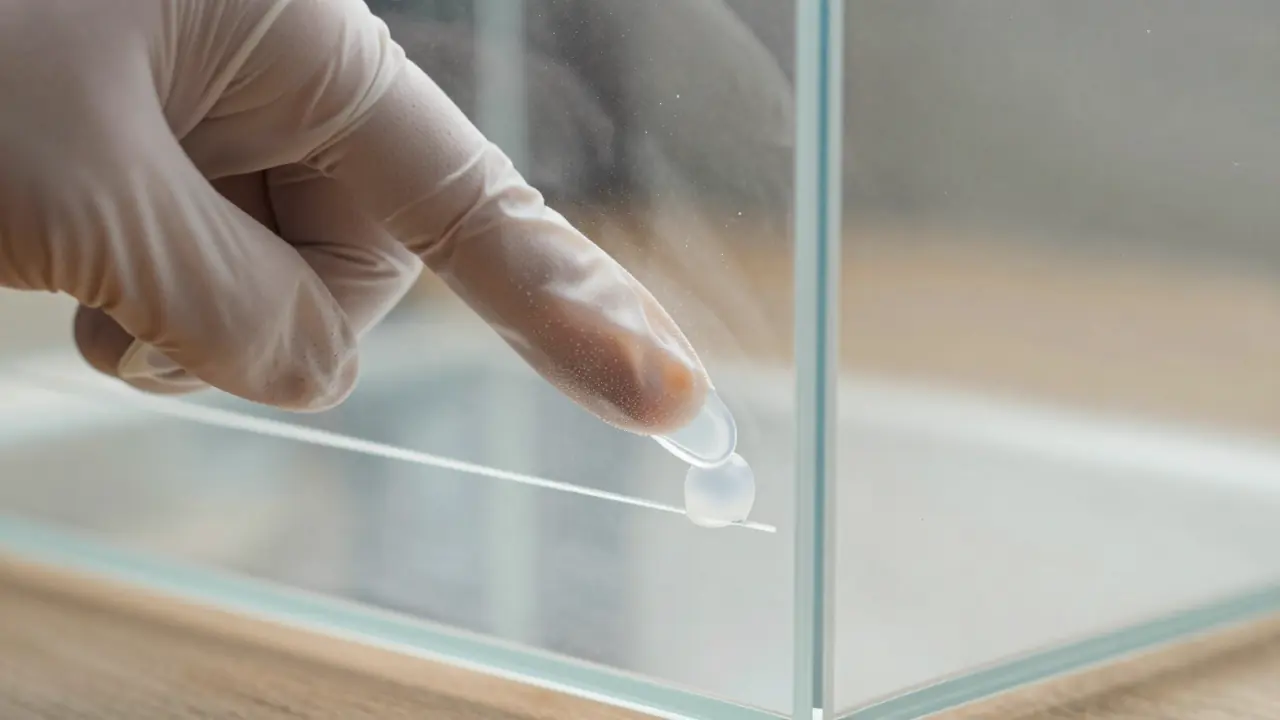
- Lay the new bead. Cut the nozzle for a thick bead. Run a bead of about 1/4 inch along each seam, keeping the nozzle close so no air gets trapped. Do the inside, then the outside bead.
- Smooth quickly. Use a gloved finger to press the silicone into the seam as a smooth wedge. Finish every seam within about 10 to 15 minutes, while the silicone is still wet.
- Cure. Let it stand in a ventilated space for 24 to 48 hours, and longer if the label says so.
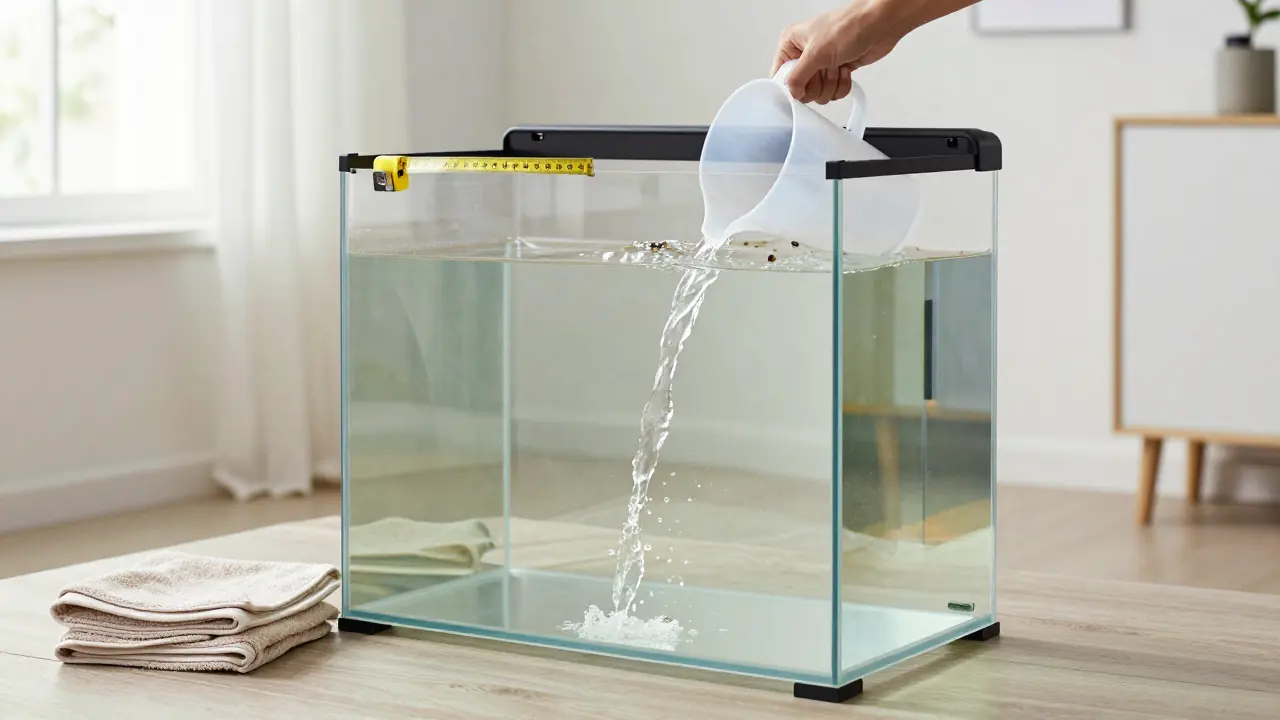
- Refill in stages. Add water in 3-inch increments, stop, and check every seam.
How long does the silicone take to cure?
The minimum is 24 to 48 hours before water goes in, and about 48 to 72 hours for a larger tank that was reinforced. Silicone is not at full strength when it is only dry to the touch, so follow the cure time printed on the tube if it is longer. A longer wait never hurts. Fill the tank outdoors or in a spot where a failure will not harm anything, and let it hold water for a few days before it goes back on the stand and the fish come home.
Refilling and getting the fish back in
Use dechlorinated water at the right temperature, and run the filter again. If you kept the old filter media wet in tank water, the beneficial bacteria survive and the tank needs no new cycle. If the media dried out or you had to replace it, expect the nitrogen cycle to restart, and check ammonia and nitrite before putting fish back. See how to cycle a fish tank and aquarium water conditioner for the details.
Prevention: how to stop the next leak
- Use a level, solid stand. A stand that is not level or that has a gap under the base puts uneven stress on the glass. Put a foam pad or padding under the tank where the maker recommends.
- Avoid pressure points. Nothing should rest on or push against the glass edges or the frame, and the bottom should be fully supported.
- Inspect seams monthly. Look for bubbling, peeling or discolored silicone.
- Keep the water a little below the brim.
- Watch equipment connections. Check hoses, clamps and heater suction cups when you clean the tank. See how to clean a fish tank.
- Keep water quality stable. Poor water conditions can weaken silicone over time.
- Retire tanks you no longer trust. Old seams that keep failing are a sign to replace the tank. More setup and maintenance help lives in our How-To guides.
FAQ
What do I do if my fish tank is leaking right now?
Unplug the equipment, protect the floor, move the fish to a bucket of their own tank water, and lower the water below the leak.
Is it easy to reseal a fish tank?
Resealing is not difficult but it is slow, and the old silicone must come out completely. Done carefully, a resealed tank can last many more years.
How common are tank leaks?
Leaks are not typical in a sound tank on a level stand, and they mostly start at seams or at equipment connections. Age, poor support and impact raise the odds.
Can I fix a leak without draining the tank?
No reliable fix works with a full tank, because silicone needs a dry surface. At minimum, lower the water below the leak.

The Pet Almanac editorial team researches, writes and edits every care guide on the site. Each guide is fact-checked before publishing and reviewed again when care guidance or equipment changes.