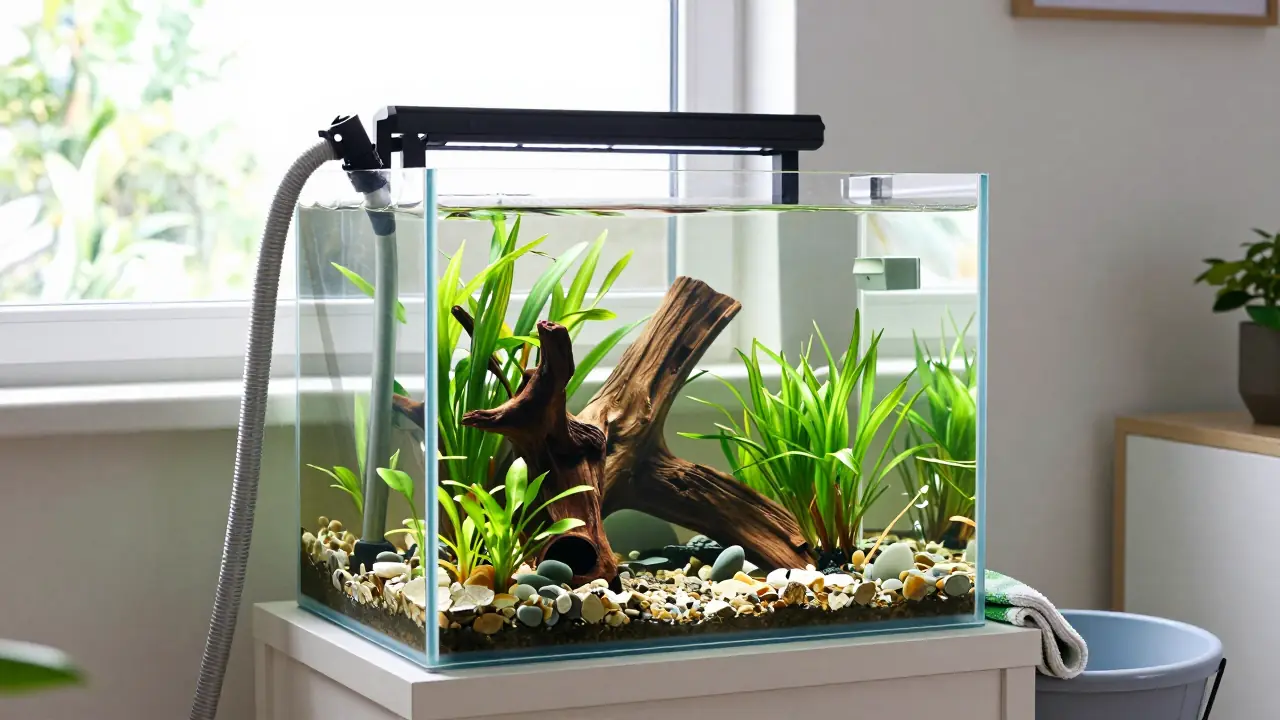
To clean a fish tank, unplug the equipment, scrape the glass, vacuum the substrate while removing no more than half of the water, rinse the filter media in the water you just took out, and refill with conditioned water at the same temperature. The fish can stay in the tank the whole time. Never use soap or detergent on anything that goes back into the tank.
Most of the work is a routine water change plus a little housekeeping. Done on a steady schedule, it keeps waste from building up and keeps algae in check without disturbing the beneficial bacteria your fish depend on.
What you need before you start
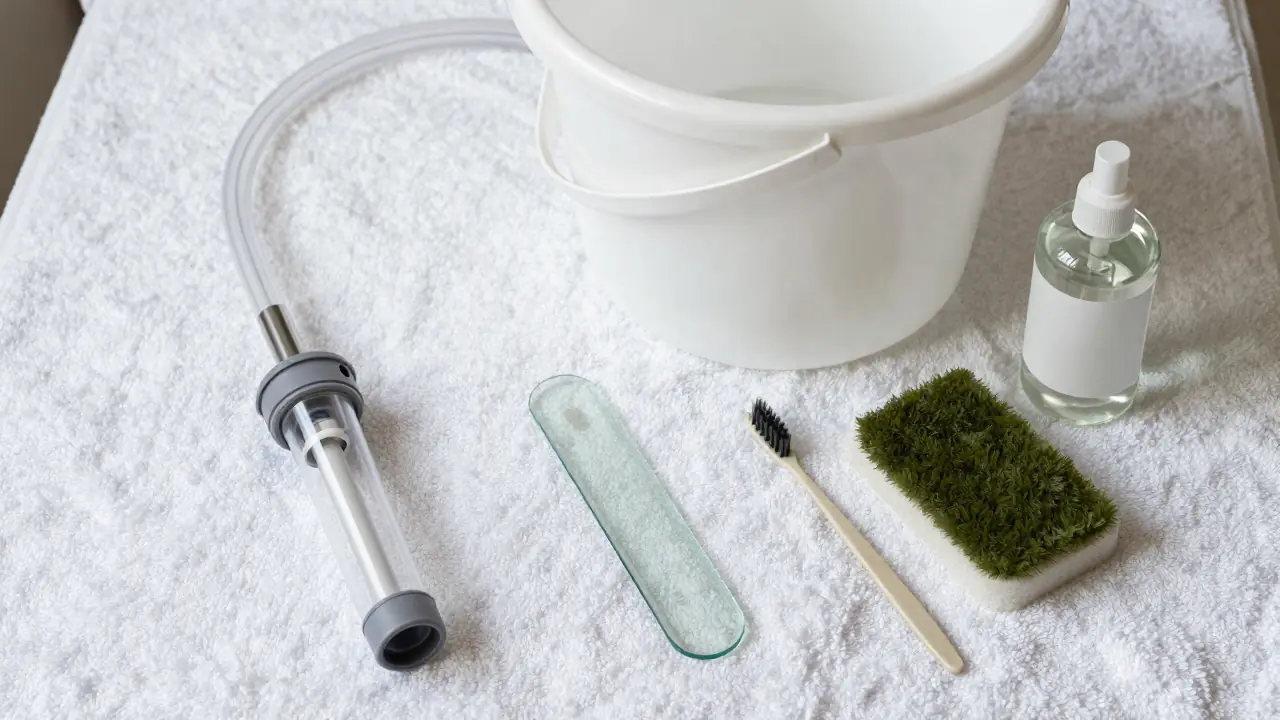
Gather everything first so the tank is not sitting half-finished while you hunt for a bucket. A short list covers nearly every freshwater tank:
- A clean bucket used only for the aquarium, plus a second one for new water
- A gravel vacuum (siphon) sized for your tank
- An algae scraper or pad that is safe for your tank material
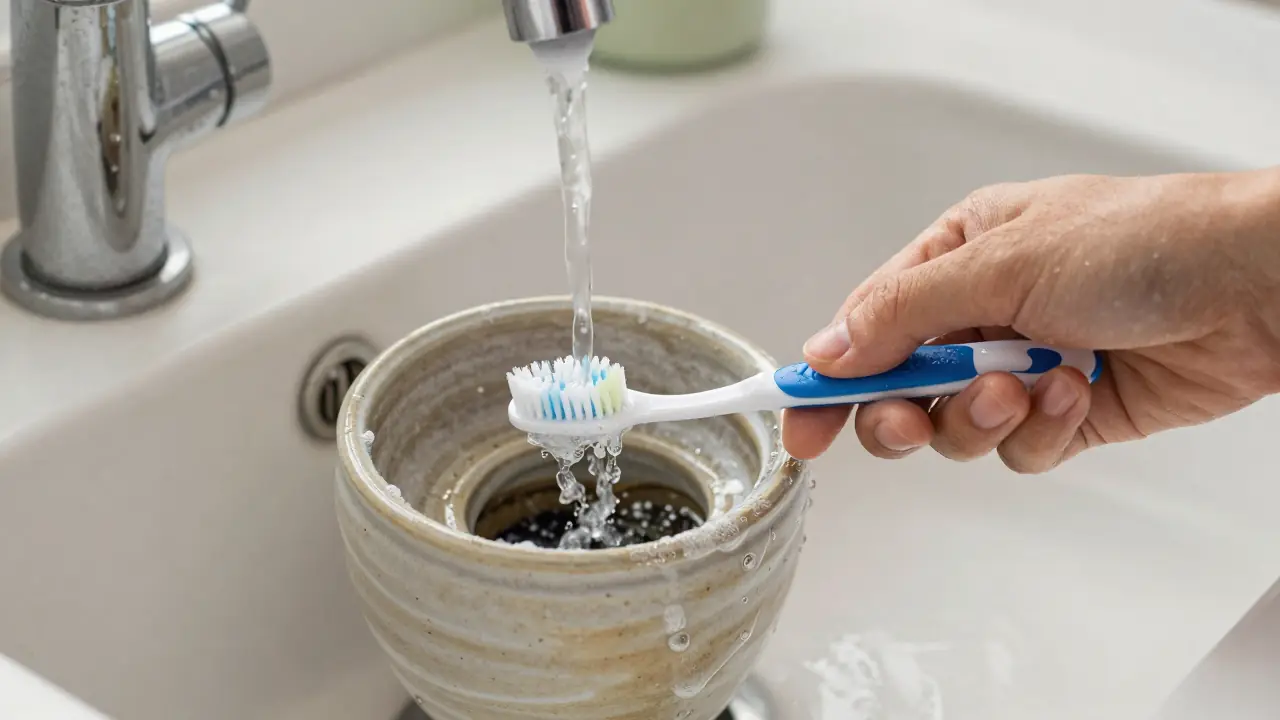
- A designated toothbrush for decor
- Water conditioner that treats both chlorine and chloramine
- Paper towels or a clean rag, and a towel for the floor
- Vinegar for scale on equipment
Keep the buckets and tools away from household cleaners. Even a thin film of residue can be a problem once it reaches the water.
Can I use dish soap to clean a fish tank?
No. Dish soap, glass spray and any other detergent leave residue that is hard to rinse out completely, and that residue can harm fish and the bacteria in your filter. Use hot tap water, a clean scrub tool and, for stubborn mineral crust on equipment, a diluted vinegar soak followed by a very thorough rinse. If something smells of soap, do not put it back.
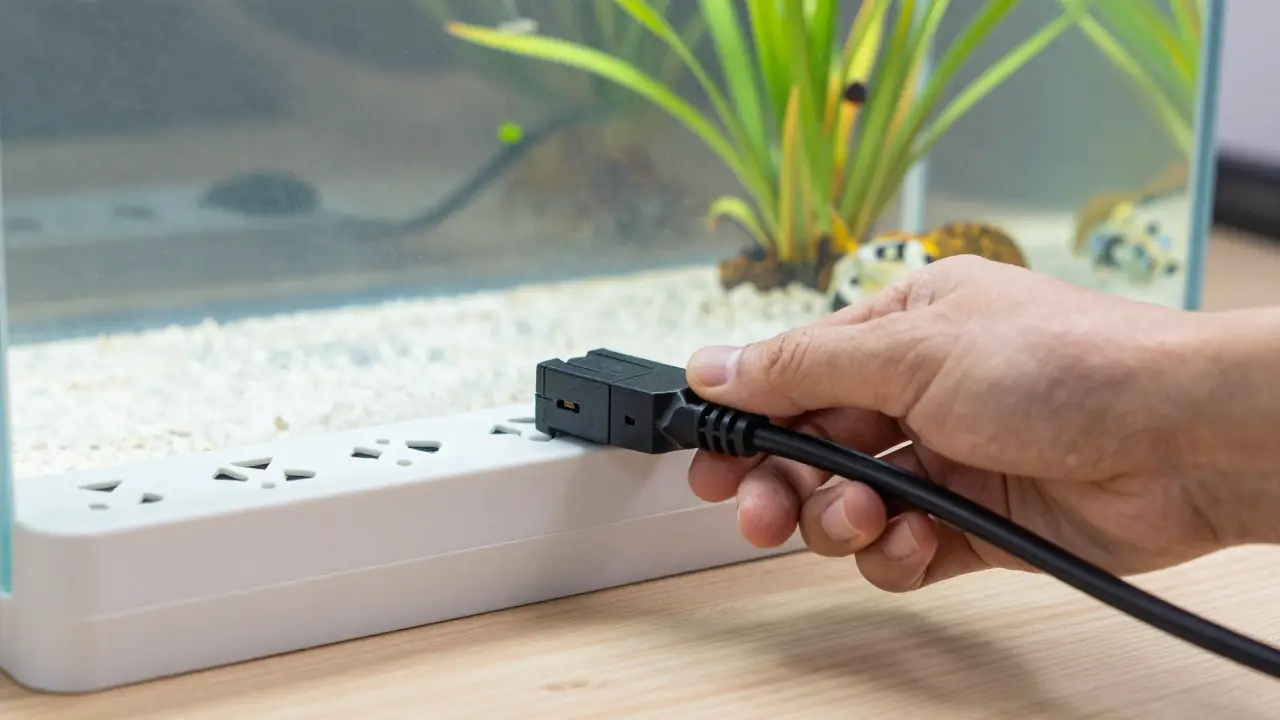
Unplug the filter, heater and lights before your hands go in the water. Keep the power strip and cords above the floor so a splash or drip never reaches them.
How to clean a fish tank step by step
Step 1: Wash up and unplug the equipment
Wash your hands and forearms with plain water, with no soap residue left on your skin. Then unplug the filter, heater and lights. A heater that is switched on while exposed to air can be damaged, so make this the first move every time.
Step 2: Clean the glass
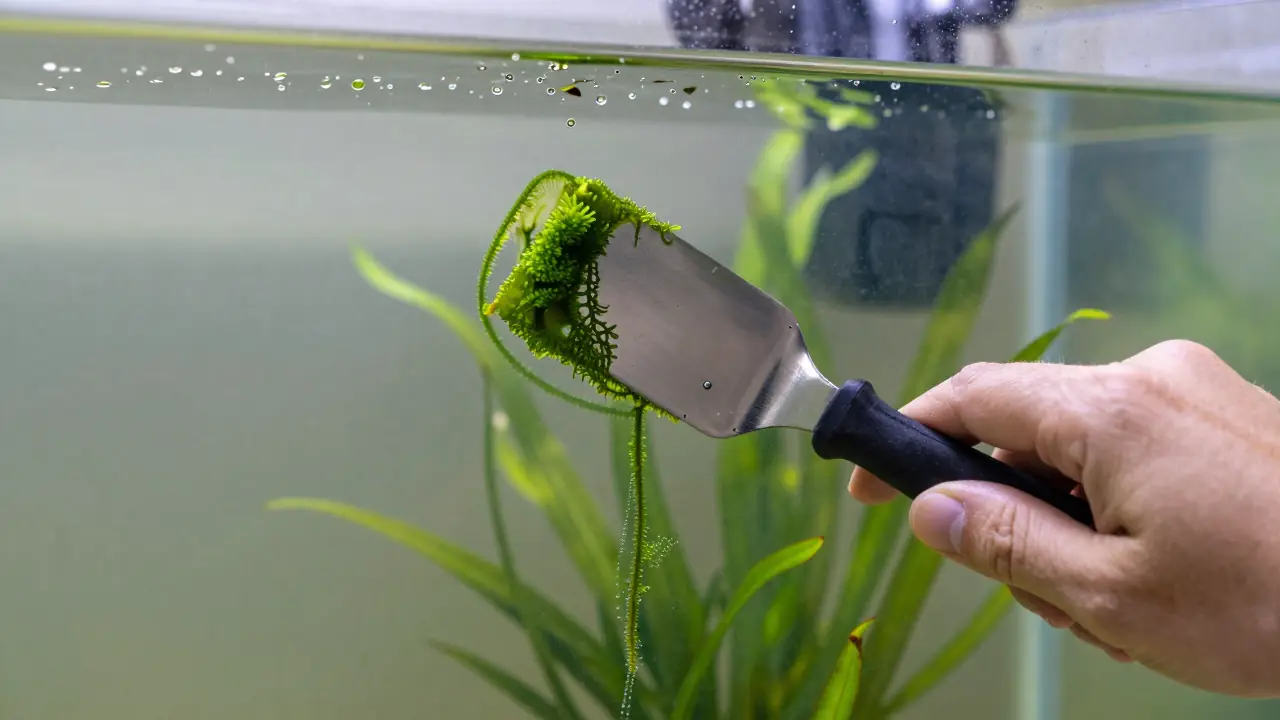
Scrape algae off the inside of the glass with a scraper or algae pad before any water comes out, so the loosened bits get siphoned away. Match the tool to the tank. Glass scrubbers are more abrasive and can scratch acrylic, so acrylic tanks need a soft, acrylic-safe pad.
Step 3: Clean the decor, only if it needs it
Remove only synthetic decor that is visibly dirty. Scrub caked-on algae with the designated toothbrush under hot (not boiling) water for a few minutes. Do not use any detergent. Live plants and natural rock usually stay put, and a light brush in place is enough.
Step 4: Vacuum the substrate and take out water
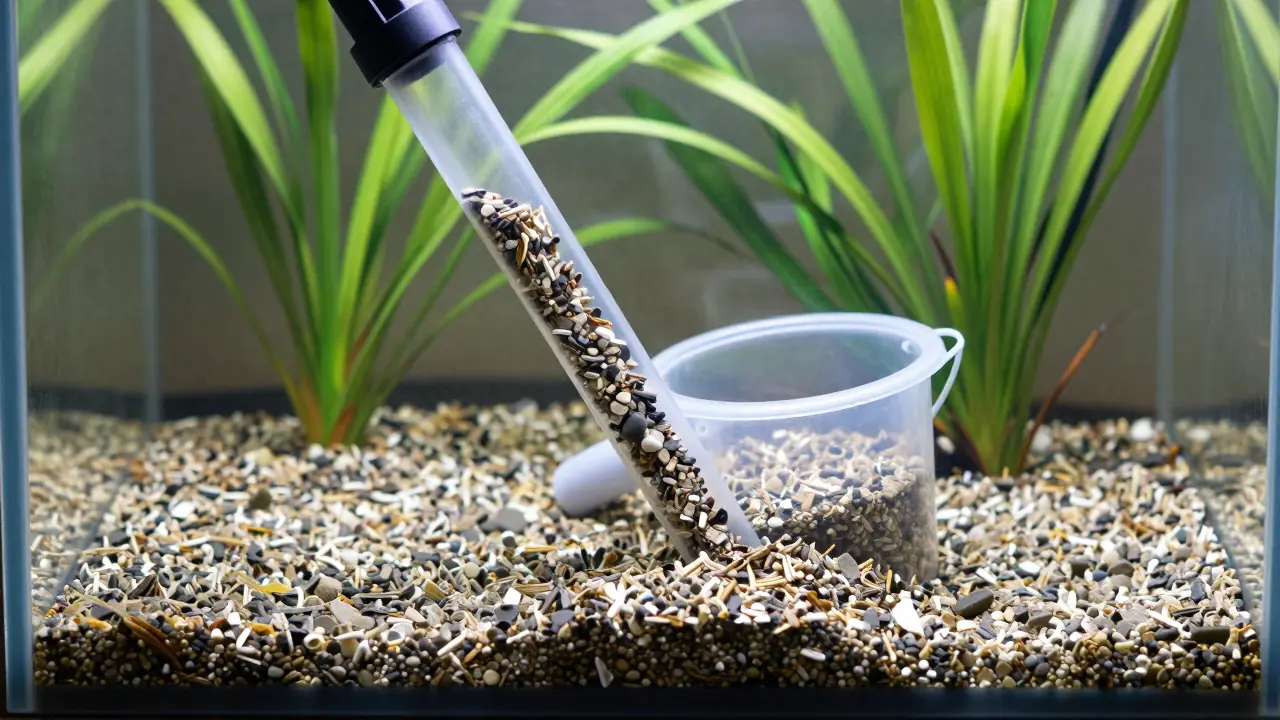
This is the water change itself. Push the gravel vacuum into the substrate in sections. The gravel should lift about a quarter to a third of the way up the tube and then fall back, leaving the waste to travel into the bucket. Sand needs a lighter touch: hover just above the surface and skim it.
Remove no more than 50% of the tank water at one time. A routine weekly change of 15 to 25% suits most tanks. Stop siphoning when the waste bucket is close to full, and never let the water level drop below the filter intake.
Step 5: Rinse the filter media
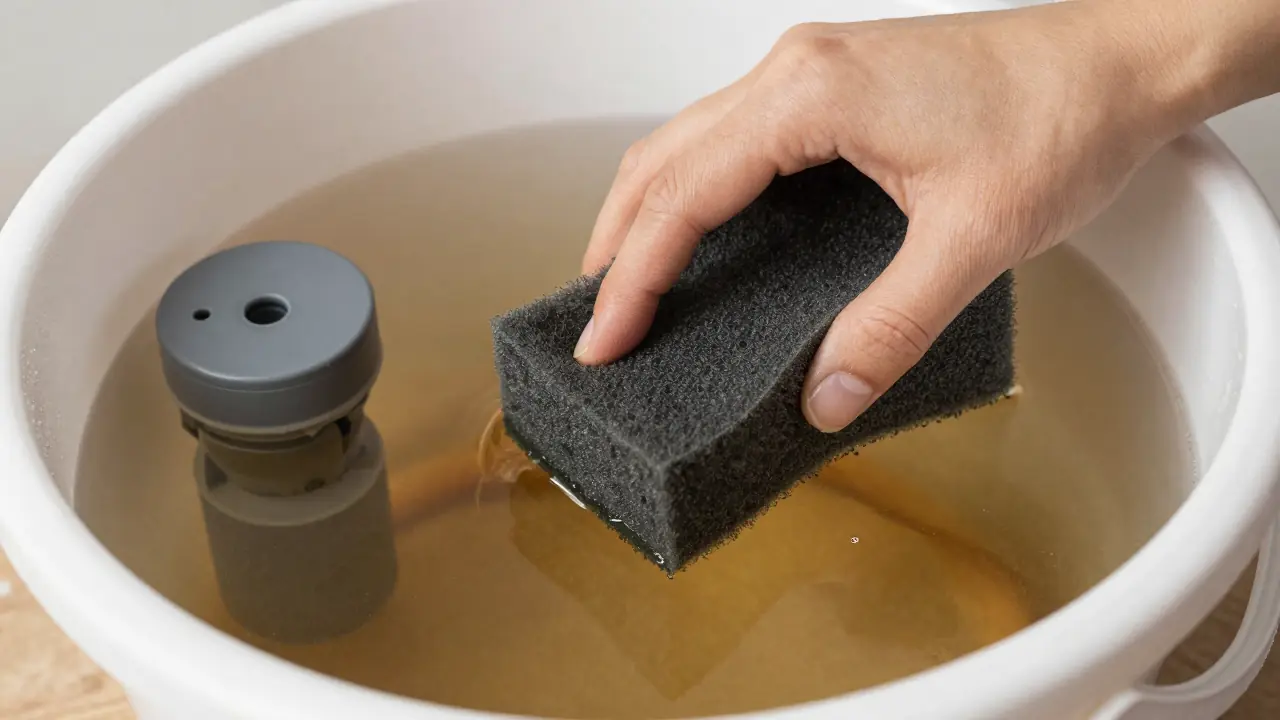
Squeeze sponges and other media gently in a bucket of the old tank water you just removed. Never rinse them under the tap, because chlorine in tap water can kill the bacteria living in the media. You do not have to replace media on a schedule. If a piece is falling apart, replace no more than about a quarter to a third of the total at one time so the colony survives. Sturdy sponges generally outlast floss.
If the impeller is gunky, pull it out and wipe it with a rag or paper towel. Scale on an impeller magnet or heater can soak in vinegar for one to two hours, then needs a long rinse.
The leftover bucket water is rich in nutrients, so many hobbyists pour it on houseplants instead of down the drain.
Step 6: Prepare the replacement water
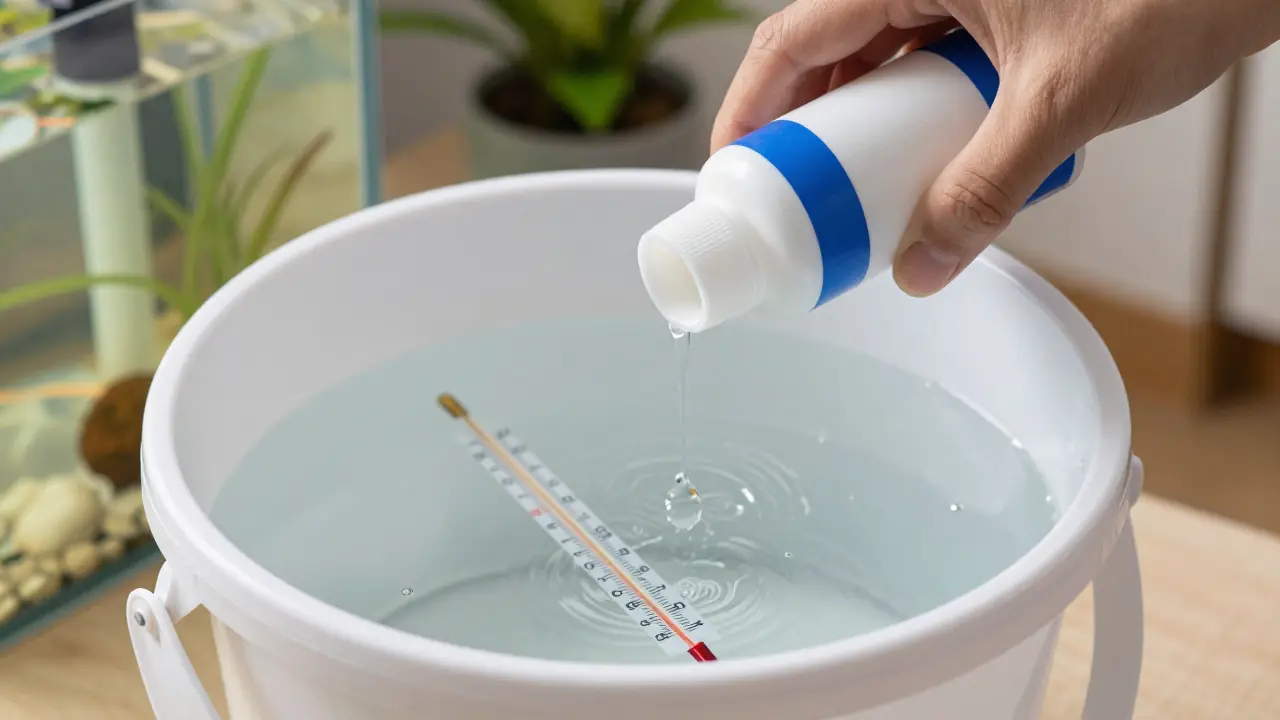
Fill the clean bucket with tap water and match the temperature to the tank by feel and with a thermometer. Add water conditioner that treats both chlorine and chloramine, following the bottle directions. Give it at least a minute to work before the water goes in. For a large tank, split the dose into three or four smaller portions so the conditioner mixes evenly.
Also check your source water for pH and hardness with a liquid kit now and then. If the water going in differs from the tank by more than about 2.0 pH units, do not simply pour it in; contact an aquatic veterinarian or an experienced local fish store for guidance.
Step 7: Refill the tank
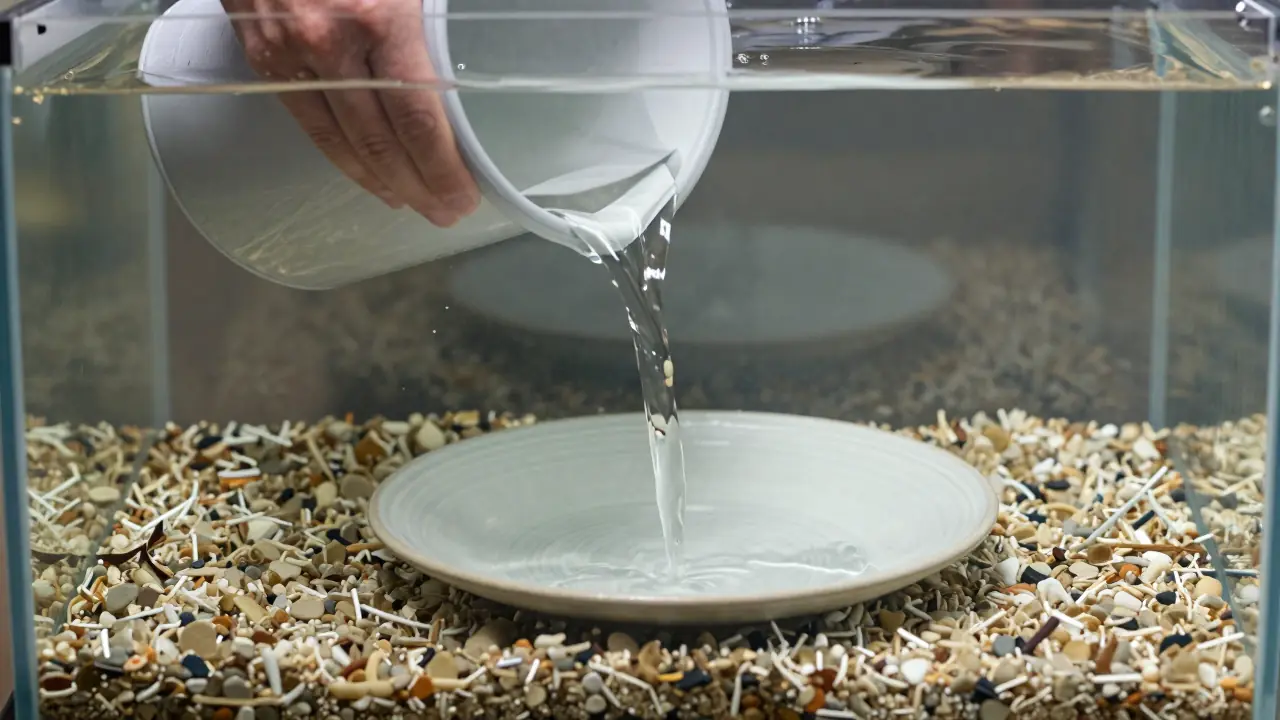
Put decor back first, then pour the treated water in slowly, directing it onto a plate, a bowl or your clean hand so the substrate is not blasted across the tank. Top off to the normal level.
Step 8: Restart the filter and lights
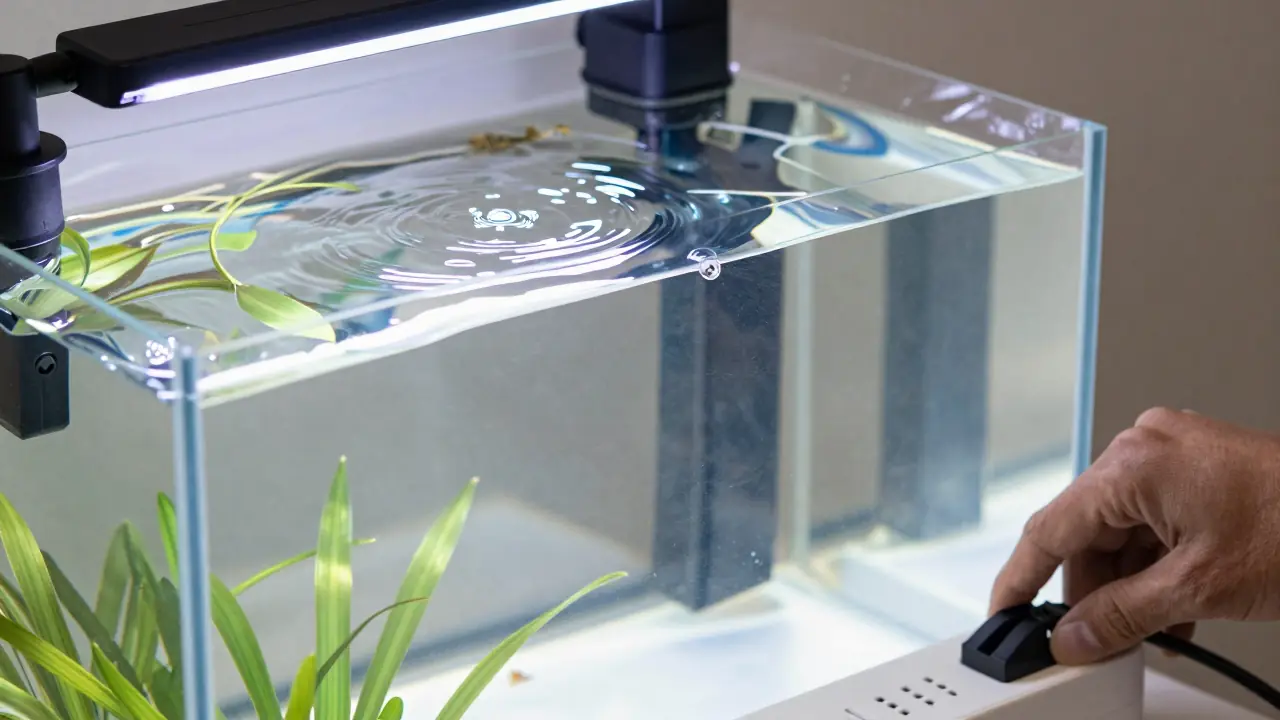
Pour some tank water into the filter body so it primes, then plug everything back in. Check that the filter is moving water, the heater is covered, and the lights and lid are back on. Watch the fish for a few minutes to make sure they are swimming and breathing normally.
How to clean a fish tank without removing the fish
You almost never need to take fish out. Cleaning around them is less stressful than netting them, and everything above is designed to be done with fish in the tank. Move slowly, keep the vacuum away from hiding spots until the end, and avoid sudden temperature changes. Moving fish is only worth considering when the tank has to be emptied for a repair, and that is a different job from routine cleaning.
How often should you clean a fish tank and filter?
A small water change on a regular schedule beats an occasional deep clean. Aim for 15 to 25% each week, and increase the amount or the frequency when the tank is heavily stocked or the glass gets dirty quickly. A filter does not need a scheduled scrub. Rinse the media when flow slows or debris is visible, and keep the cleaning gentle so the bacteria survive. Never clean all the media, the substrate and the decor in a single session.
A tank that is still maturing needs even more care, because the bacteria are not established yet. See how to cycle a fish tank before you do any heavy cleaning.
Why does my fish tank get dirty so fast?
The common causes are overfeeding, too many fish for the tank size, too much light and a filter that is too weak or clogged. Food that is not eaten breaks down and feeds algae. Long lighting periods do the same. Feed only what your fish finish, shorten the light period, and check that the filter is moving water well. If the glass turns brown in a new tank, that is often a normal phase; read about brown algae in a fish tank. For stringy dark tufts on plants and decor, see black beard algae.
Tank size matters too. A very small tank has less water to dilute waste, so it fouls faster. Our fish tank sizes chart shows what each size holds.
After cleaning: troubleshooting
- Everything is loud after you clean. The filter probably needs priming or has air in it. Pour some water into the filter body and check that the impeller is seated.
- Fish are breathing hard. Check the temperature and that the conditioner was added. If it continues, contact an aquatic veterinarian.
- Algae returns quickly. Scrubbing treats the symptom. Reduce light and feeding and keep up regular water changes.
FAQ
What is the best way to clean a fish tank?
Do a partial water change with a gravel vacuum, scrape the glass, rinse filter media in old tank water, and refill with conditioned water at the same temperature.
Can I use Dawn or other dish soap?
No. Any detergent can leave residue behind. Use hot water and a dedicated scrub tool.
What should you not put in a fish tank?
Soap, cleaning sprays, untreated tap water, and objects that have touched household chemicals. Rinse anything new with plain water first.
Can I clean a fish tank without removing the fish?
Yes. Fish stay in the tank for a routine clean.
Should I clean the filter and the gravel on the same day?
It is safest to spread the heavy jobs out, or at least rinse only part of the media each time.

The Pet Almanac editorial team researches, writes and edits every care guide on the site. Each guide is fact-checked before publishing and reviewed again when care guidance or equipment changes.